skip to main |
skip to sidebar
A lot of the presents I make are then sent abroad to my family or friends who live far away. So... while I don't always quite follow this rule, I usually try and come up with treats that will survive the trip and which are on the light side so that I don't have to give up an arm and a leg on postage. :-)
This little present for a friend in Denmark definitely fitted the rule: definitely light and not one bit fragile. I decorated the tags of a few teabags of my favourite tea with bright colours and pretty patterns, wrapped them in a nice box and *hop* in the mail!
 On our wedding day we were presented with a big and beautiful folder filled with amazing creations from all our guests; each and everyone of them had put together something on the theme of cows and kangaroos (I'm Swiss, hence the cows and... Mart's Australian so... there you go! :-))
There were collages, photos, cards, poems... someone even bought us a cow in a charity and put the certificate in the folder. So many beautiful, fun and thoughtful pieces from everyone.
On our wedding day we were presented with a big and beautiful folder filled with amazing creations from all our guests; each and everyone of them had put together something on the theme of cows and kangaroos (I'm Swiss, hence the cows and... Mart's Australian so... there you go! :-))
There were collages, photos, cards, poems... someone even bought us a cow in a charity and put the certificate in the folder. So many beautiful, fun and thoughtful pieces from everyone.
My mum and my brother actually designed a special fabric for us, which they sent us a few meters of when we got back to the Netherlands. I love it and decided to make pillows with a tiny little touch of neon orange 'cause... I just couldn't resist!


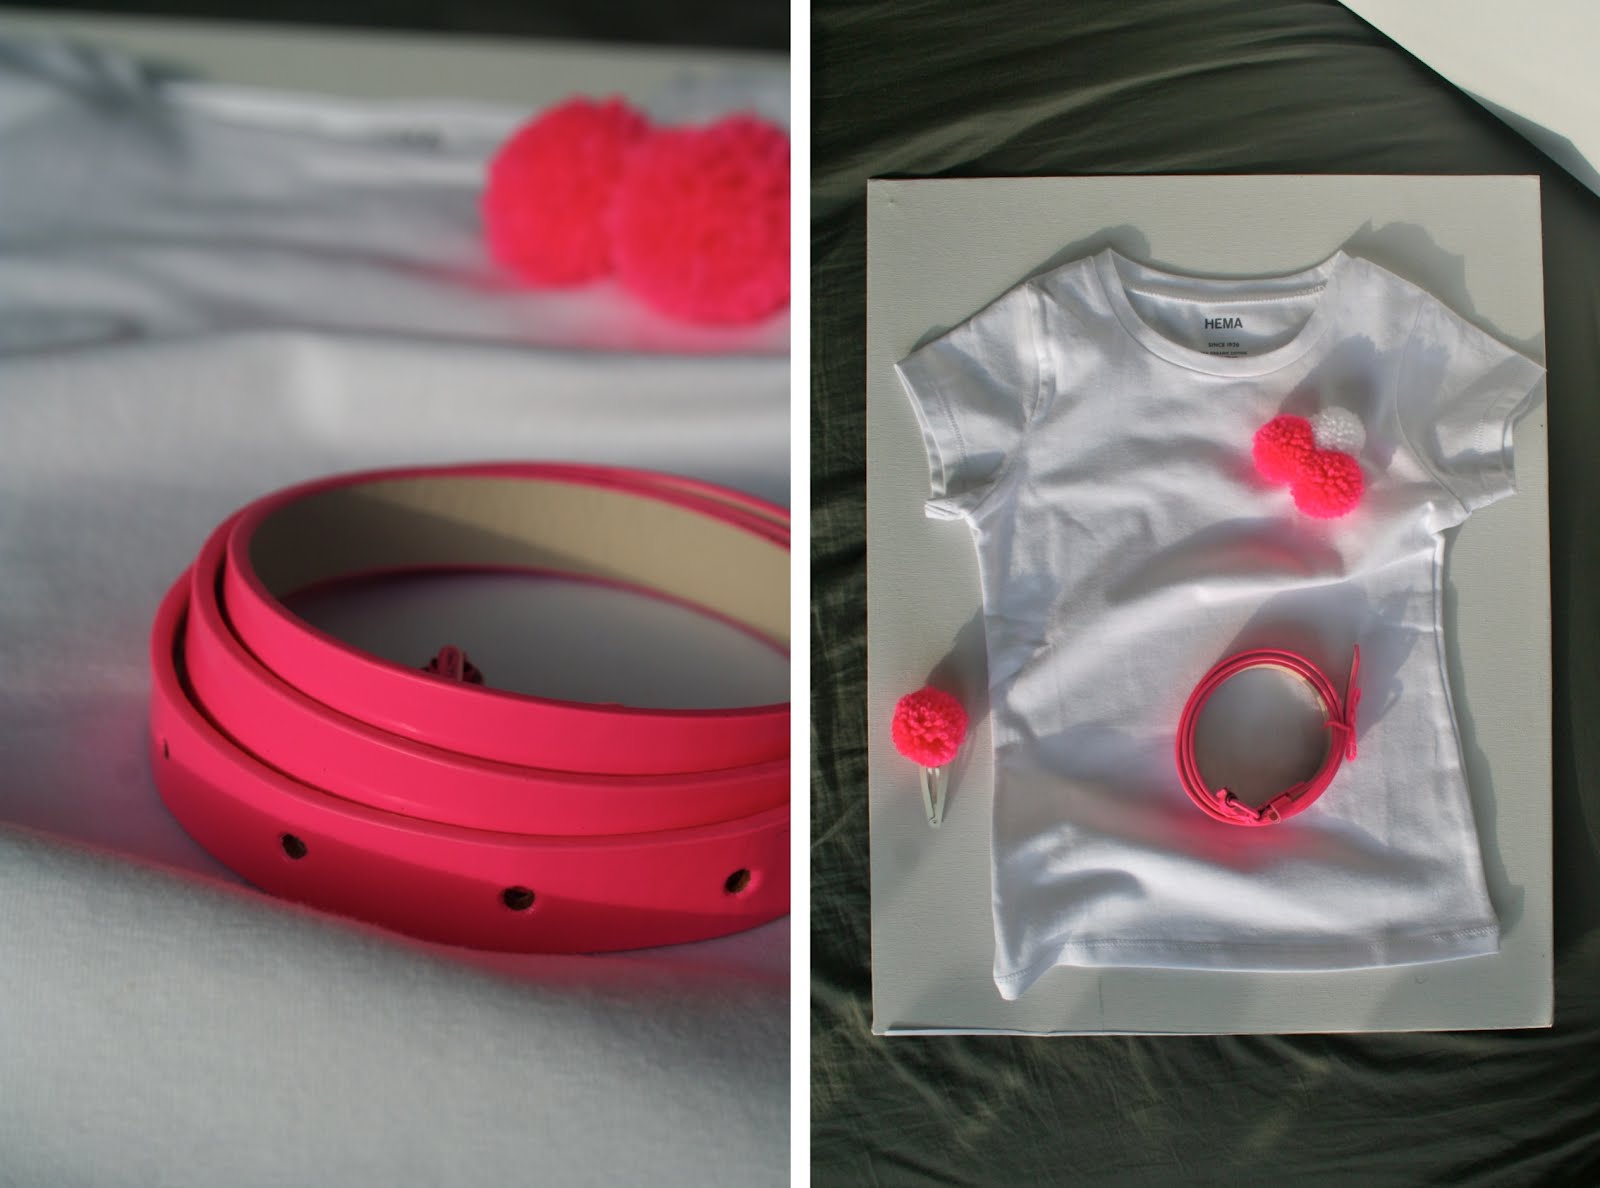
 My favourite little Matilda turned four yesterday, and I made her a present in her favourite colour: pink. (And as I'm sure you could have guessed, I had to make it neon pink because, well... as we have already assessed the other day, I'm completely obsessed!).
I bought a cute little belt which I coupled with a simple white t-shirt and a matching pompon broach and hairclip that I made for her. The pompons are so easy (and fun) to make! I've been using this technique ever since i saw it on Creature Comforts; it works perfectly.
P.S. Just in case you didn't believe my obsession with neon, go check out my toe nails, candles, striped top, necklace, garland, and tea towel. Aarg!
Just in case you were still doubting whether I was obsessed with neon colours or not, here's yet another post which will clearly show you I'm pretty much ready for the detox center. :-)Let me introduce you to... my neon yellow necklace!  I made it a few weeks ago by spray painting a necklace I bought at H&M. First a layer of white, then bright yellow, and voila!
The adorable little man reading me a story is my cousin's wonderful son... it was so good to spend some time with him and with the rest of the family; I can't wait for the next time I'll see them all again!
Fist photo taken by my mum.
 The lovely Allie from Paper Notes is traveling through Europe and while she's gone, she has invited guest bloggers to keep her exciting blog running.
And guess who's turn it is today? Mine! :-)
Head over to her blog to see my super easy neon garland tutorial!